Colorizing Photos with Autochrome Plate
Before the Lumiere brothers introduced the idea of autochrome plates in 1903, which produced color photos with color mosaics, photography lived in a black-and-white world. The first autochrome plates used dyed potato starch in green, violet-blue, and orange instead of what we now use: blue, green, and red. The brothers' autochrome plates were the standard colorization technique from 1907 until the subtractive color film in the 1930s. Though it may seem like an antiquated technique, the autochrome process was highly advanced for its time and is still used today for the unique look it can give to photographs.
How to Create the Autochrome Color Filter Mosaic Plate
Let's assume you're ready to start your autochrome process. The first step is to make the plate.
To create an autochrome plate, photographers cover a thin plate made of glass with transparent adhesive layers. They then spread a paste of dyed potato starch over the adhesive's surface. The starch is dyed green, violet-blue, and orange. Roughly 4,000 grains of the starch cover a square inch. Each grain is about five to ten micrometers.
The goal is to keep the glass plate as transparent as possible, minimize the space between each grain, and avoiding grains from overlapping. Applying pressure to the plate creates a clearer mosaic. This allows light to reach the emulsion more easily. The glass may break if you apply pressure to the glass all at once, so use a steamroller to apply pressure to one area at a time.
Fill in spaces with Lampblack, the same substance used in printing ink, and coat with a water-based gelatin emulsion. To prevent the grains from getting wet, cover the plate with shellac (a dissolved lac resin now popular in nail polish) and leave it to dry. When everything has dried, it becomes a full Autochrome Color Filter Mosaic Plate, which you then divide into your preferred sizes. Cover the side that is going to face the emulsion with a black paper. You'll remove the paper and load the plate when you're ready to use it.
Using the Autochrome Color Filter Mosaic Plate
The autochrome plate comes with one side covered by a black cardboard paper to protect the emulsion. When putting it into the camera, the glass side should be in front of the lens. This is done so that light can go through a layer of glass and the mosaic filter before it reaches the emulsion.
There is a risk of the sun's ultraviolet rays messing with the blue and violet light in daylight. You can handle this issue by putting a yellowish-orange filter on the camera. This filter, however, dampens light intake, which in turn means that the autochrome plate has to be exposed for quite a while before you can take a picture.
You now have the coated plate and a silver laminating filter. The silver halide acts as a micro-filter. It filters the spectrum of light that passes through it, allowing a particular amount of light to pass at a certain point. This produces a unique proportion of the yellow, green, and violet-blue colors. The plate makes a reconstruction of the image and blends the colors. It takes the appearance or color of the light that passed through the grain when you look at it.
Autochrome of the Past
Photographers could only use the first autochrome plates on standstill cameras because the picture took forever to expose. The subject also had to be incredibly still (which is why you don't really see people smile in early photographs). After they took the picture, it had to be washed by first developing the negatives, and the positives were produced by chemically removing the silver cover and exposing what was left to light.
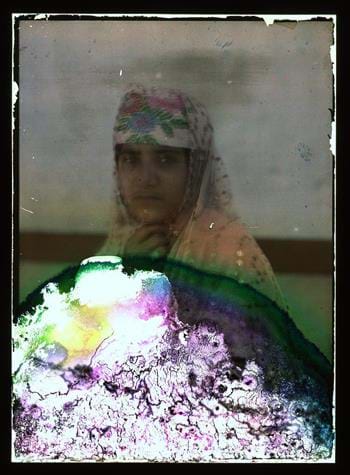
The way autochrome plates were coated, dried, and recoated back in the day made them vulnerable to damage from the elements, like humidity. Each layer was made with a different material that was vulnerable to certain factors, and when one layer started deteriorating, it affected other layers as well. This was why autochrome plates were stored at about 17 to 20 degrees Celsius in a very dry environment.
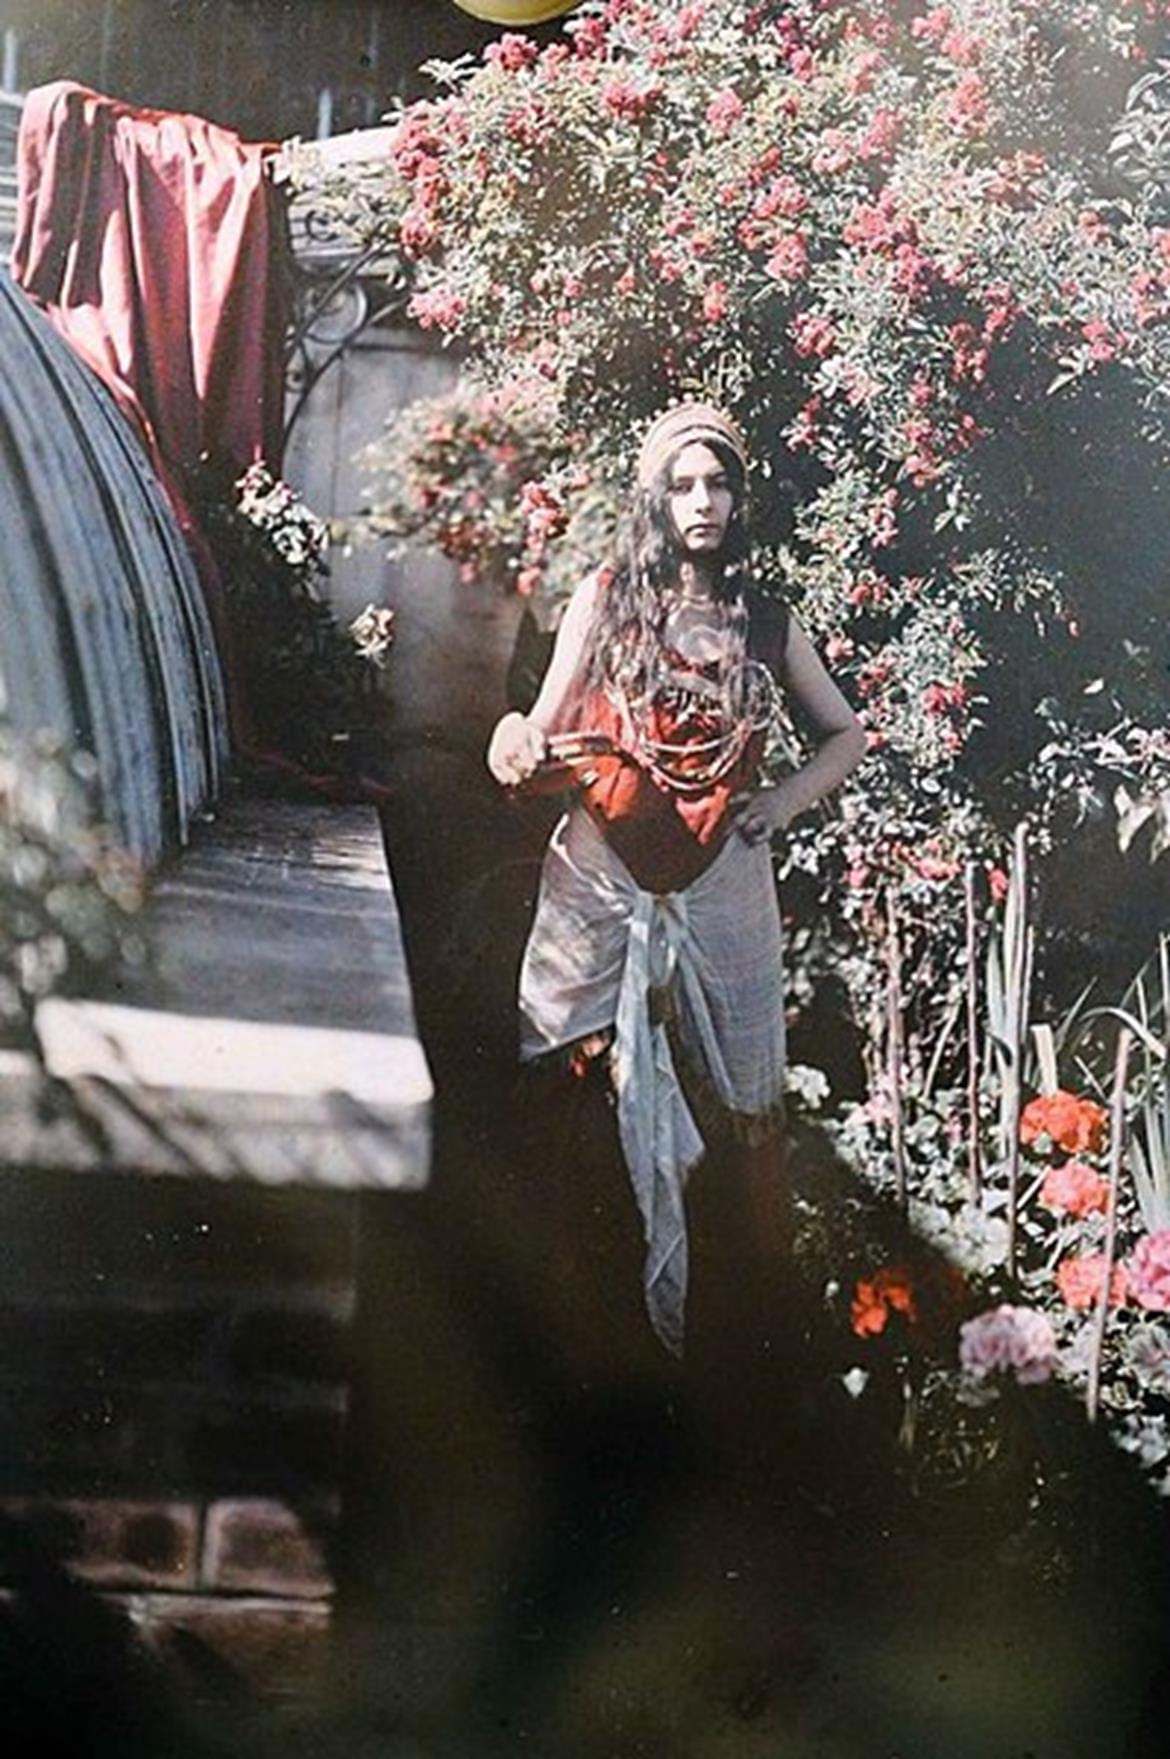
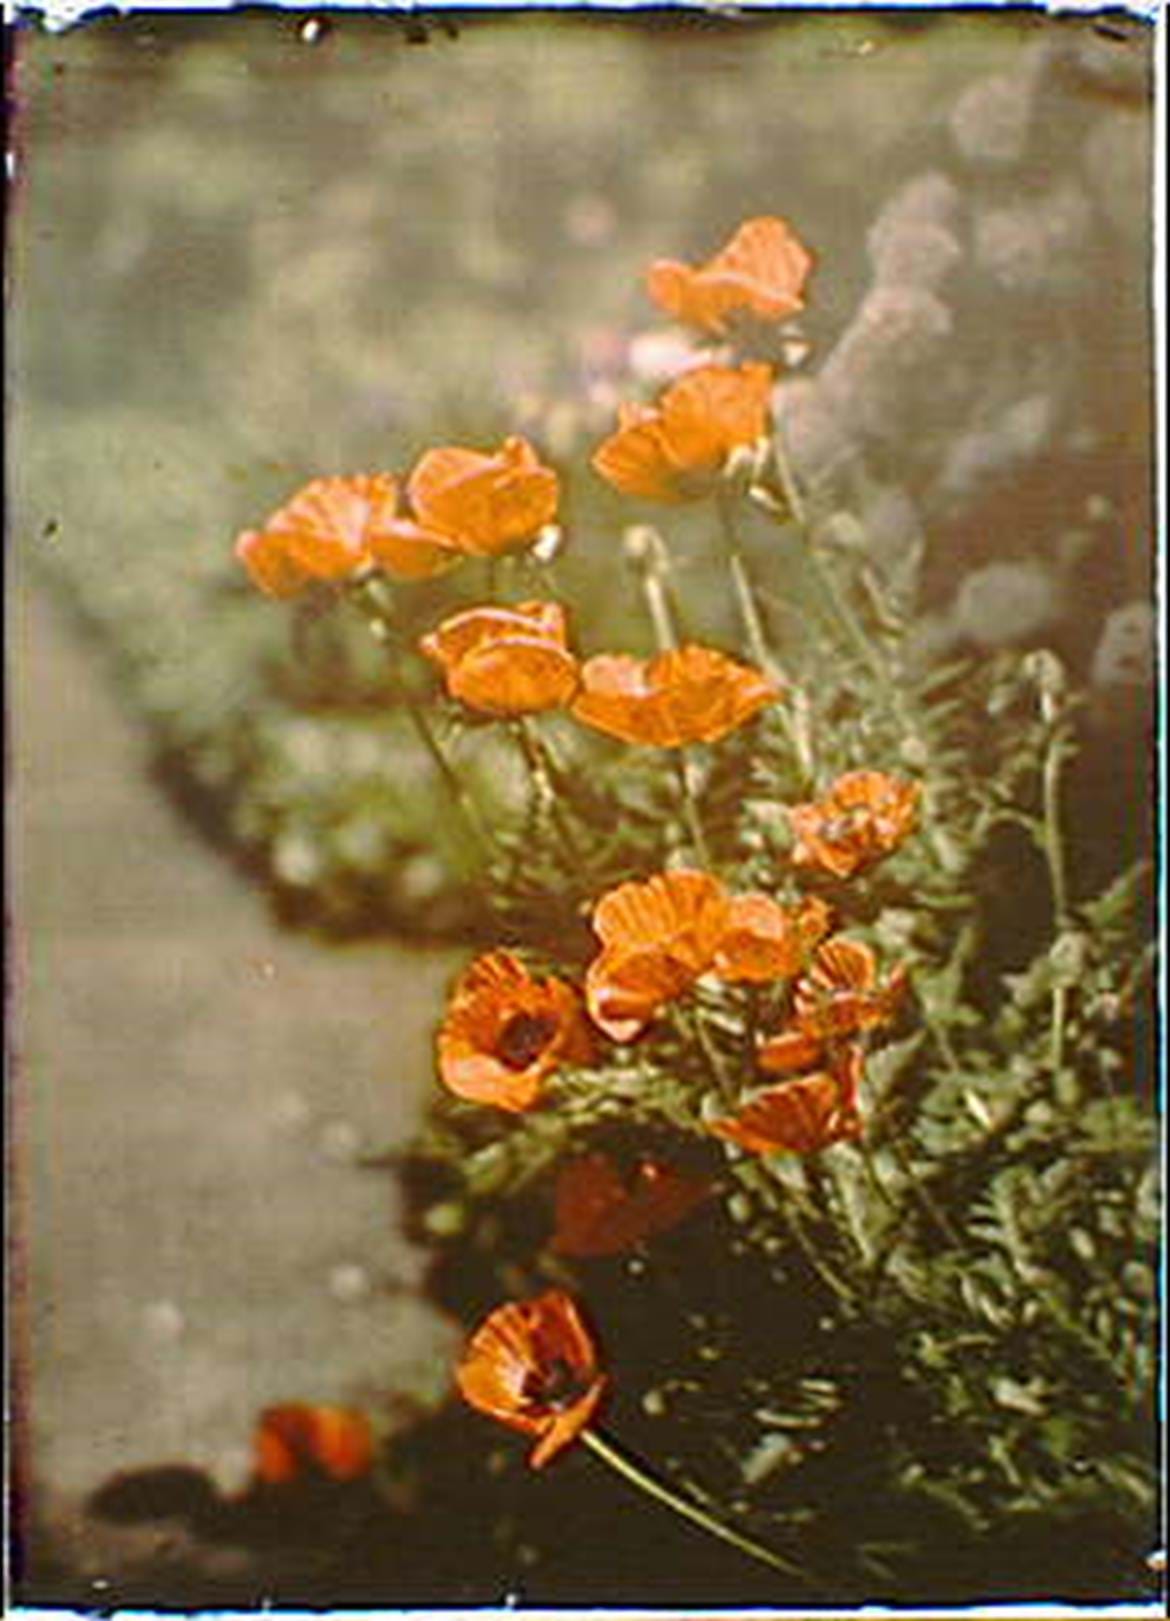
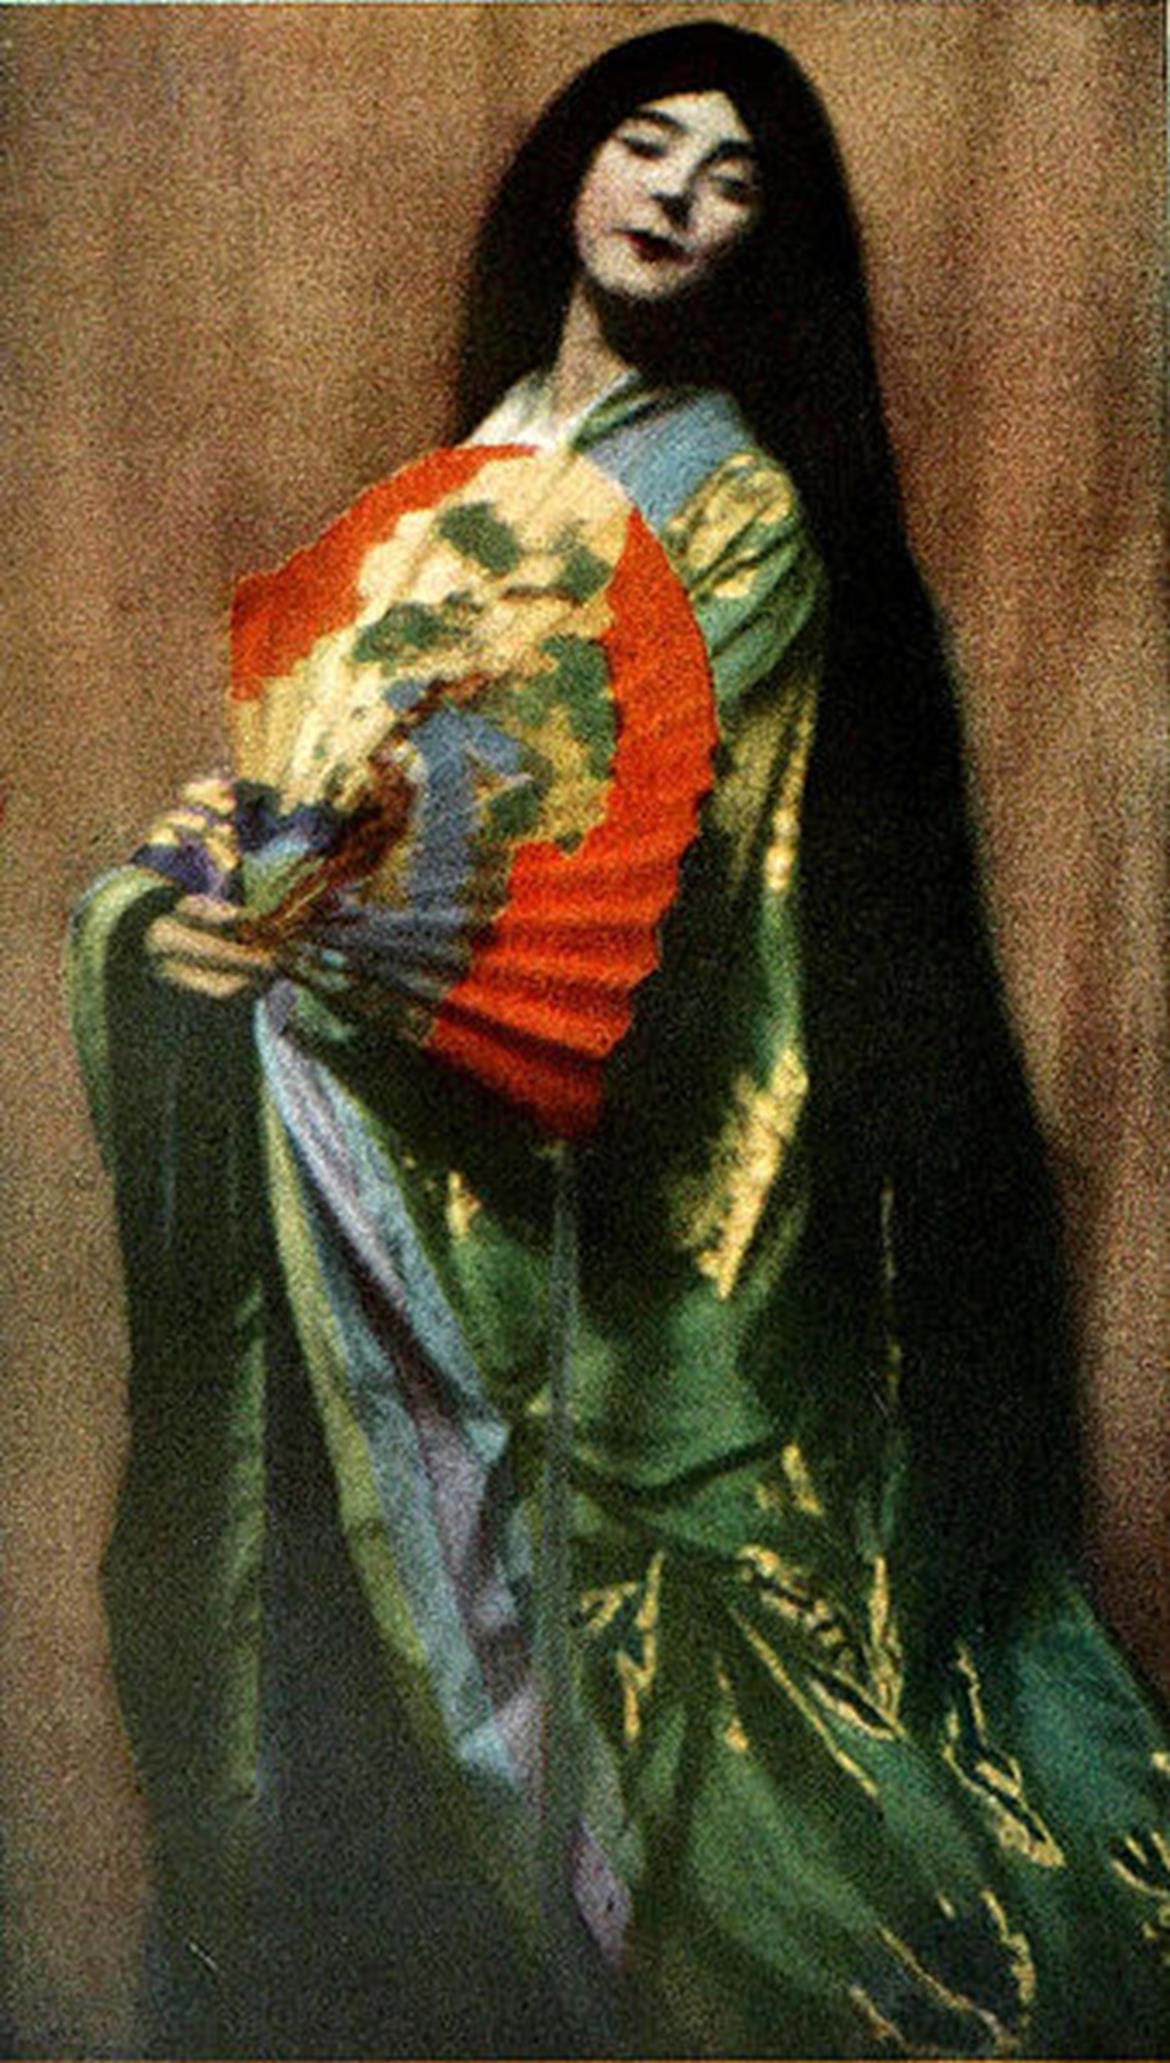
Autochromes, especially stereoscopic autochromes, became incredibly popular. You could even call it a photography addiction, despite the somewhat complicated process. But it's not hard to see why it is such a widespread practice. The color photographs of autochrome are vivid and subdued, antique, yet modern; it gives the picture an air of mystery and makes the subjects beautifully familiar.

No worries! We can fix it and make it beautiful.
from our blog
You might also like

Have you ever wondered about printing your photos? Even when it is an old practice, it can make a new experience for you. Here, five not so obvious reasons why it’s good to print your photos and some extra ideas.

Learn how to fix photos ripped corners. A quick overview of some techniques, tips and tools.

Color correction skills are key to give your photos the right mood and be able to express a range of different feelings.

While hard copies are nice to have, scanning your photos with iOS and Android apps can help save them for generations to come. Discover the apps that will make the job a piece of cake!