The Challenges of Photo Restoration
Old photographs generally fall into two categories, though the restoration problems you encounter will be very similar.
The Challenges of Photo Restoration
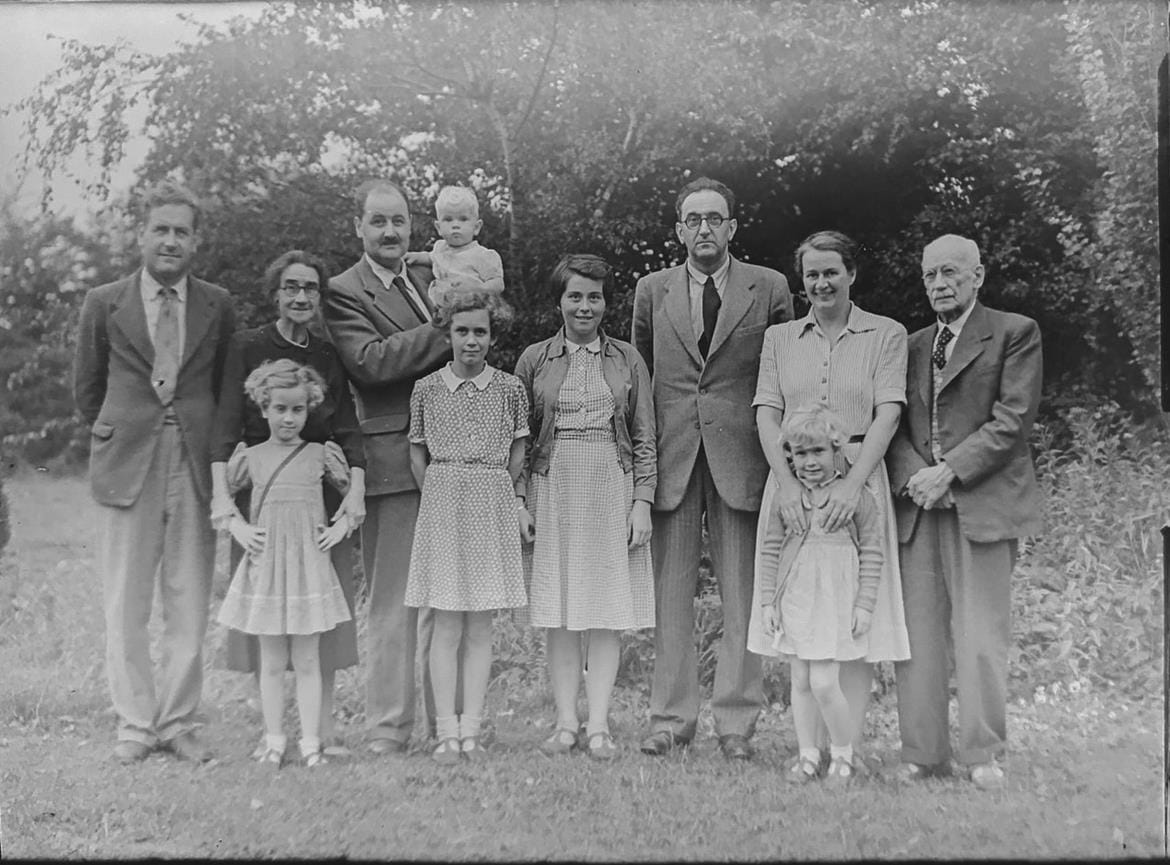
The first category is the old, but somewhat more modern photographs, typically color, taken in the sixties to eighties. The second category consists of much older photographs, typically black and white, that may be up to a hundred years or older.
Careless storage, or storage under less than ideal conditions, will result in creases, tears, spots, blemishes, discoloration, and cracking. It's emulsion cracking that this article is going to consider.
Where to Start
The first step taken for photo restoration is the successful copying of the original into a digital format. Using a stand-alone scanner, or as is more common nowadays, a multifunction printer, it is relatively straightforward to scan a suitable copy to work on.
In this day and age, if photo restoration of any sort is going to be done, you will need a top-notch program to achieve success. Photoshop is one such program that most photographers have and use.

There Is No Quick Fix
As the saying goes, "There are many ways to skin a cat." and so it is with photo restoration. Blemishes and dust spots are very easy to fix, and such fixes can often be applied globally and quickly.
Unfortunately, repairing damage such as emulsion cracking has no quick fix. It's time-consuming, and there's a lot of trial and error to determine which approach will work best.
The following tools are all ones that will potentially work for this job. Whichever one you choose, do not be tempted to use a large brush to get the job done quickly. Use an appropriate size for the damage that needs fixing.

Photoshop Tools to Consider
The first of the four main tools available is the "Clone Tool." This tool copies pixels from one chosen location to another (i.e. the cracked area) using a brush. Simply put, you select a source location that looks feasible and then paint over the damaged area. It's possible to alter both the edge hardness and opacity of the brush, but the final responsibility of how well the cloned area blends is down to you.
Next up for consideration is the "Patch Tool." This is considered a somewhat higher-level tool than the cloning tool. The area to be repaired will be the cracked emulsion, and, again, you will need to select a source location that will give you a supply of good pixels to use.
The patch tool will attempt to match both the shading and lighting as well as the texture of the destination or damaged area. The final result is more under the control of the tool rather than it being your responsibility.
In some ways, the next tool, the "Healing Brush," is even more automated. It works in a similar fashion to the clone tool because you select a source area and then paint over the destination area. It differs in the level of sophistication in that it copies the texture from the source area and then tries to match tonal values of the destination area. The blending, as such, is far more automated than before.
The last tool that we recommend for use is the "Spot Healing Brush." This is probably the most sophisticated of all the available options. In essence, it works in the same way as the previous tool, but there is one major difference. With the spot healing brush, you do not select a source area.
Instead, you use the brush to paint over the damaged area. Photoshop automatically selects a group of nearby pixels and then applies the healing brush algorithm to the area you're attempting to repair.
The Spot Healing Brush is basically the same as the Healing Brush, except that you don't pick the source, you just paint on the area you want to be fixed, and Photoshop attempts to automatically pick a source area from nearby, automatically applying the healing brush logic.

Which Tool to Use?
Our personal choice is the spot healing brush, as its automatic processing is quite something. Although it was really designed to fix small blemishes, dust spots, small tears, and so on, it is actually very good at fixing cracks as well. It is by far the fastest tool to use, and we would suggest starting with this one because of that alone.
See how it does and take it from there. Photoshop's spot healing brush is not all-powerful, and it won't always get its automatic selection of pixels right. When that happens and the end result is not what you desire, you can simply revert to using the healing brush instead, allowing you to dictate the source area. If the healing brush is not as successful as you would like, then try the clone tool or the patch tool.
No worries! We can fix it and make it beautiful.
from our blog
You might also like
Since the early 19th century, many photographers have come up with pioneering ideas that have helped the art of photography to move forward and be where we are today. Learn about the first photographs and the cumbersome techniques used.
It was the longest, deepest, and most widespread depression of the 20th century. The Great Depression is commonly used as an example of how intensely the global economy can decline.
Color correction skills are key to give your photos the right mood and be able to express a range of different feelings.
Learn how to fix photos ripped corners. A quick overview of some techniques, tips and tools.


